In one of my projects, I needed to trace HTTPS requests in order to understand the behaviour of a web application. Since the data is encrypted, it can not be read using the default configuration of the tools that I normally use to inspect network data. This post details how to quickly set up an SSL proxy to monitor the encrypted traffic.
Background
When debugging or reverse engineering a network protocol, it is often necessary to look at the requests being made in order to see where they are going and what type of parameters are being sent. Usually this is simple with a packet capture tool such as tcpdump or Wireshark when the protocol is being sent in plaintext; however, it is more work to capture and decode SSL packets as the purpose of this protocol layer is to prevent the type of eavesdropping that is accomplished in man-in-the-middle attacks. SSL works on the basis of public certificates that are issued by trusted organisations known as certificate authorities (CAs). The purpose of the CAs is to sign certificates so that any clients that connect to a server that has a signed certificate can trust that they are connecting to an entity with verified credentials; therefore, a certificate can only be as trustworthy as the CA that signed it. Operating systems and browsers come with a list of CA certificates that are considered trustworthy by consensus; so, in order to run a server with verifiable SSL communication, the owners of that server need to get their certificate signed by one of the CAs in that list. Any traffic to and from that server will now be accepted by the client in encrypted form.
Software
Trying to capture these encrypted packets would require you to have the private key of a trusted CA; however, we can get around this by installing our own CA certificate and using a proxy that signs certificates using that CA certificate for every server that the client connects to. We can accomplish this by using mitm-proxy.
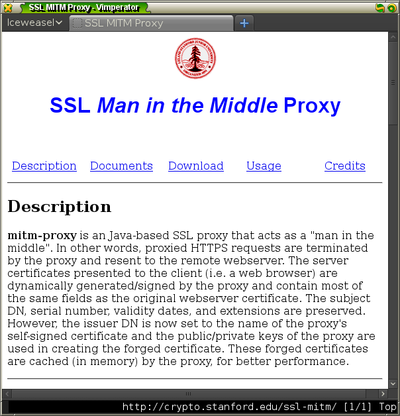
It is written Java and comes with a CA certificate that you can use right away which makes it is straightforward to set up.
Once you download and extract the software, you have to add the fake CA certificate into Firefox. I prefer to set up a new session of Firefox so that the configuration will use a separate database of certificates from my usual browsing session. You can create and start a new session using the command
firefox -P -no-remote
.
Installing the certificate
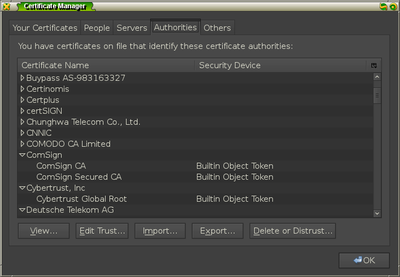
When this new session starts up, add the certificate by going into the
Preferences menu of Firefox and going to the options under Advanced » Encryption
and selecting the View Certificates button.

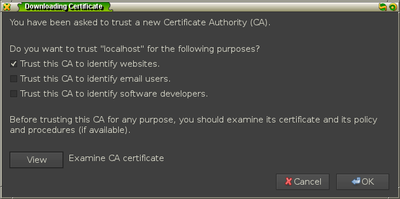
Under the Authorities tab, click the Import button and select the file
FakeCA.cer from the mitm-proxy directory.
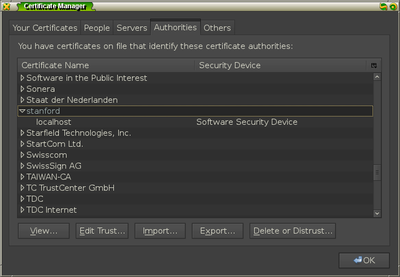
Once you add the certificate for identifying websites, you should see it in the
list of authorities under the item name stanford.
Running the proxy
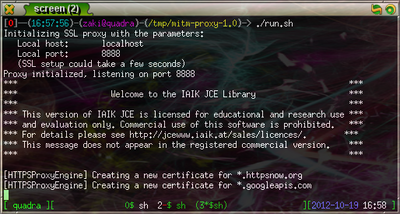
You are now ready to run the proxy. A shell script called run.sh is contained
in the mitm-proxy directory and by examining it1, you
can see that it starts a proxy on localhost:8888 using the fake CA certificate and
that it will log the HTTPS requests to output.txt. You need to add this proxy
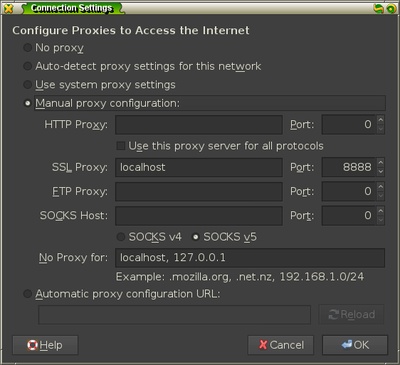
to your Firefox instance by going to Advanced » Network » Settings and adding
the information under the SSL proxy configuration.
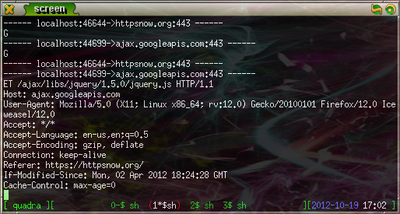
Once you start the server, you can test it by going to HTTPSNow, a website that promotes HTTPS usage for secure browsing. Now, by running
tail -f output.txt
, you can see the HTTPS requests and responses as they are sent.
You should examine all shell scripts you download for security reasons. You do not want to inadvertently delete your $HOME directory! ↩